Written by the Kanen Coffee service team in Berkeley, CA.
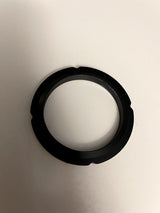
The Linea Micra brought La Marzocco's café group into kitchens — and with it, La Marzocco's one universal service ritual: the group gasket. It's a wear item on every LM machine from the Micra to a three-group Linea PB, and the Micra version of the job takes about fifteen minutes with parts that cost less than a bag of beans. If your portafilter is leaking, locking oddly far to the right, or thunking loose mid-shot, this is your fix.
Know the signs
- Water seeping or spraying at the portafilter rim during shots — the gasket has hardened and no longer seals.
- The lock-in angle keeps drifting right. A fresh gasket seats the handle around center; as the rubber compresses and hardens, the handle swings further to keep sealing.
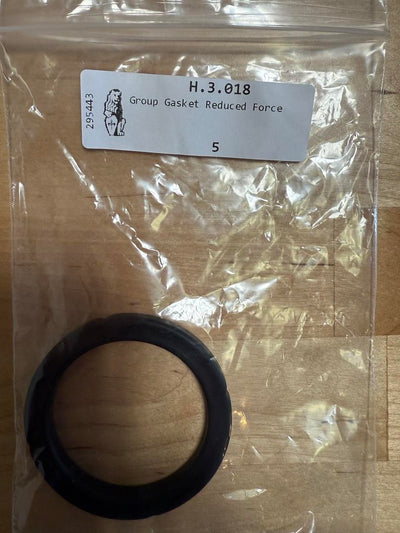
- You have to muscle the portafilter to get a seal — common on the Micra, and the reason the reduced-force gasket exists (more on that below).
Parts: standard vs reduced-force
| Part | What it is |
|---|---|
| H.3.018 reduced-force gasket | Micra-specific gasket engineered to seal with noticeably less locking effort — our default recommendation for Micra owners |
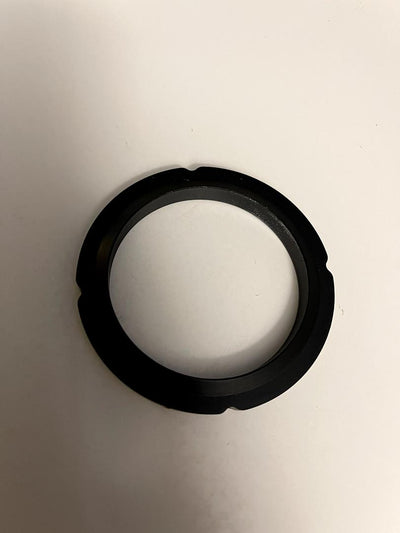
| H.3.001 standard LM group gasket | The classic La Marzocco group gasket — the standard-force option |
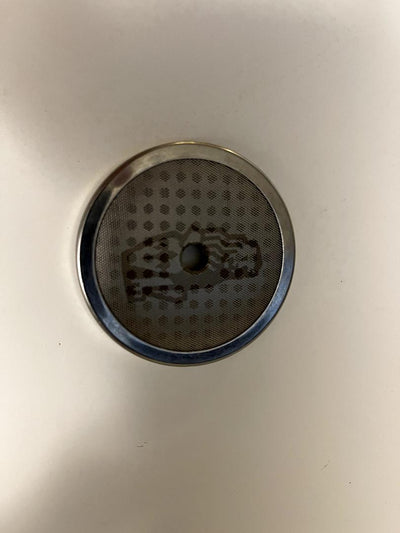
| F.3.040 group screen | Replace it while you're in there — a clogged screen causes channeling and it's a few dollars |
The replacement, step by step
- Power off and let the group cool completely. The Micra's group is deliberately kept at brew temperature — it will burn you hours after shutdown. Patience.
- Remove the group screen. Undo the central screw and drop the screen. Soak it in cleaner, or just replace it.
- Pry out the old gasket. A pick, small flathead, or gasket tool; work around the circumference and lever it down out of its groove. Old LM gaskets often come out in stiff arcs — that hardness is exactly why it stopped sealing.
- Clean the groove to bare metal. Coffee crust and rubber residue out of the recess with a brush and a cloth. This step decides whether the new gasket seals on the first try.
- Seat the new gasket. Press it evenly into the groove (chamfered/lip side per the gasket's orientation — it only seats fully one way). Work it in with thumbs around the circle; no tools that can nick the rubber.
- Screen back on, then test. Lock in an empty portafilter: it should seat smoothly around center with firm resistance. Pull a blank shot and check the rim stays dry.
How often?
For a home Micra pulling a few shots a day, expect roughly annual replacement — sooner if you notice the lock-in angle drifting. It's the same rhythm as café LM machines, just slower. Keep a spare in the drawer; it's the cheapest part on the machine.
If the leak isn't the gasket
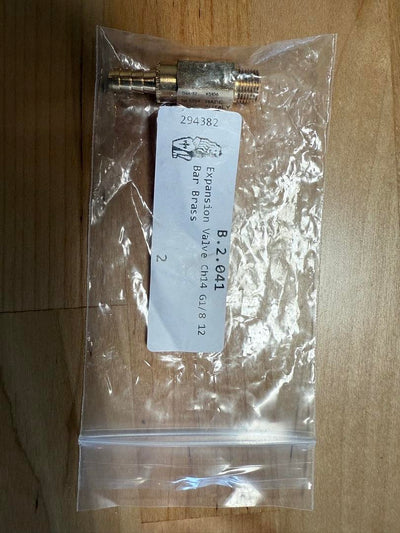
A Micra that leaks from underneath, drops pressure, or throws steam-boiler issues is a different conversation — La Marzocco home machines are exactly what our bench specializes in. Book a repair at the Berkeley shop; we stock genuine LM parts (including the Micra-specific valves) and service everything from Micras to commercial groups.
FAQ
How often does the Linea Micra group gasket need replacing?
Roughly once a year in home use. The tell is the portafilter handle locking further and further right of center.
What's the difference between the standard and reduced-force gasket?
The reduced-force H.3.018 seals with noticeably less locking effort — La Marzocco developed it for exactly the "why is this so stiff" complaint. Standard H.3.001 is the classic. Both fit; we default Micra owners to the reduced-force part.
Can I do this without tools?
You need a screwdriver for the screen and something to pry the old gasket — a dedicated gasket pick is a few dollars and saves scratched chrome.