Written by the Kanen Coffee service team in Berkeley, CA.
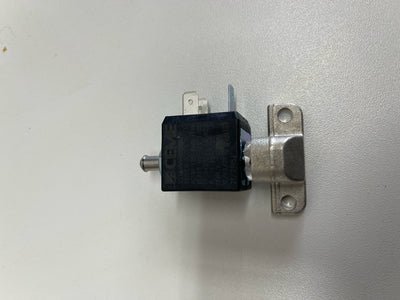
The Gaggia Classic Pro's 3-way solenoid valve has two jobs: route brew water to the group when you hit the switch, and dump the leftover pressure to the drip tray when the shot ends. When it misbehaves, you get one of espresso's messier symptom sets — and the eternal question: clean it or replace it? We do both on the bench weekly. Here's how we decide.
The symptoms
- Swampy, soaked pucks that won't knock out clean — the valve isn't venting pressure after the shot, so water sits on the puck.
- The portafilter "sneezes" — hisses or sprays when you unlock it. Same cause, more dramatic: you're releasing the pressure the valve should have dumped.
- Pump runs, no water at the group — the valve is jammed shut on the brew path (steam and hot water may still work fine).
- Constant trickle into the drip tray during shots — jammed partially open the other way; your brew pressure is leaking to the tray.
The cause, as with nearly every valve failure we see: scale and coffee debris jamming the plunger or blocking the valve's tiny vent orifice.
Try the rebuild first (it's free)
The Classic Pro makes this unusually easy — the valve is accessible and comes apart:
- Unplug, cool fully, remove the top panel and locate the solenoid under the boiler — a small brass body with a black coil.
- Photograph the wiring, pull the spade connectors, and unscrew the valve body. Keep track of the tiny internals: plunger, spring, seals.
- Soak the brass parts in warm citric acid or descaler for 30 minutes; scrub gently; then clear the vent orifice — a pin-sized hole that causes most "sneeze" symptoms when blocked. A strand of wire or a needle, gently.
- Reassemble, reconnect, test with a blank shot.
If the symptoms vanish: congratulations, total cost zero. Backflush regularly with detergent and it'll stay clear far longer.
When to just replace it
Replace instead of rebuilding when any of these is true: the coil is dead (no click when the valve energizes — a multimeter across the coil confirms it), the plunger or its seat shows pitting or corrosion, the valve jams again within weeks of a cleaning, or you simply don't want to gamble a second teardown. The complete replacement valve installs in the same steps as the rebuild, minus the soaking.
The decision table
| Finding | Verdict |
|---|---|
| Valve clicks, parts look clean-able, first offense | Rebuild — 30-minute soak, free |
| No click / dead coil | Replace |
| Pitted plunger or seat | Replace |
| Second jam in a few months | Replace — and fix the water that's scaling it |
Fix the cause, not just the valve
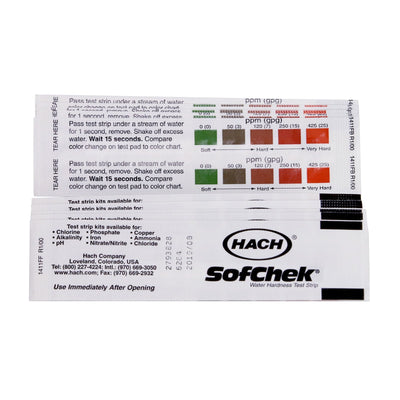
A jammed 3-way is a water-quality symptom. Check your tap with hardness strips — and if you're in one of the East Bay's hard-water pockets, treat the tank before the new valve goes the way of the old one. If you'd rather hand the whole thing over, book a repair at our Berkeley shop; drop-off or mail-in, and we'll descale the machine properly while it's open.
FAQ
Why does my Gaggia Classic Pro portafilter hiss when I remove it?
The 3-way valve isn't venting after the shot — usually a blocked vent orifice. A rebuild-level cleaning fixes it more often than not.
How long does the solenoid job take?
About an hour for a rebuild including the soak; 30 minutes for a straight replacement.
Is the Classic Pro valve the same as the older Gaggia Classic?
They're closely related but not guaranteed identical across all years — confirm your model year with us before ordering if you have a pre-2019 Classic.