Written by the Kanen Coffee service team in Berkeley, CA. We service Breville machines on our bench every week — the Barista Express is the single most common machine we see.
If your Breville Barista Express BES870XL suddenly stopped pushing water through the group head — the pump hums, the gauge climbs, but your cup stays empty — the odds are very good you're looking at a failed or scale-jammed 3-way solenoid valve. It's the most common single-part failure we see on this machine, and it's fixable at home if you're comfortable with a screwdriver and 45 minutes of patience.
The 60-second diagnosis
A failing 3-way solenoid usually announces itself in one of these ways:
- No flow at the group head. Pump runs, pressure gauge pegs high, little or no water comes through the portafilter — but the hot-water spout and steam wand still work.
- Water dumping into the drip tray. The drip tray fills abnormally fast because the valve is stuck open to the release path and brew pressure is venting straight down instead of through your coffee.
- Sudden dead shots. Shots that ran fine yesterday now trickle or channel with no crema, with the gauge behaving strangely.
The root cause in the East Bay is almost always scale: a mineral particle breaks loose inside the thermocoil, lodges in the valve, and jams the plunger. Sometimes the coil itself burns out. Either way the fix is the same part.
The part you need
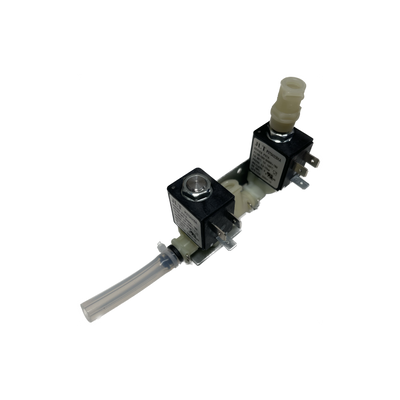
One part covers it: the genuine Breville solenoid valve assembly for the BES870XL. It comes as a complete assembly — valve body, coil, and fittings — so you're not rebuilding anything, just swapping.
Tools
- Security Torx bit set (Breville uses tamper-resistant screws on the outer panels)
- Phillips screwdriver
- Needle-nose pliers for the spade connectors and retaining clip
- A towel and a tray for the handful of screws
- Phone camera — photograph every connector before you unplug it
Step-by-step replacement
- Unplug the machine and let it cool for at least an hour. The thermocoil and the valve sit right next to each other and hold heat far longer than you'd expect.
- Remove the water tank, bean hopper, and drip tray. Empty everything — you'll be tipping the machine.
- Open the housing. Remove the top-panel screws, then the outer shell fasteners. Work slowly; the panels interlock and nothing should need force.
- Locate the solenoid valve. Follow the braided line from the group head back toward the thermocoil — the solenoid is the small cylinder with two wires and a coil sitting on the valve body.
- Photograph, then disconnect. Pull the two spade connectors off the coil, then release the retaining clip that holds the valve to the thermocoil block.
- Swap the valve. Seat the new assembly with its O-ring square in the bore — a pinched O-ring here is the #1 rookie leak. Refit the clip until it clicks fully home.
- Reconnect and reassemble loosely. Connectors back on (your photo is the map), then reassemble the shell just far enough to run water safely.
- Test before final buttoning-up. Tank on, run a blank shot (no coffee) and watch the valve area for seepage. Dry? Finish the screws, run two full tanks through, and pull a test shot.
Do this while you're in there
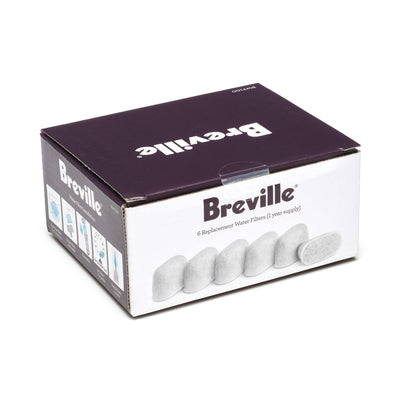
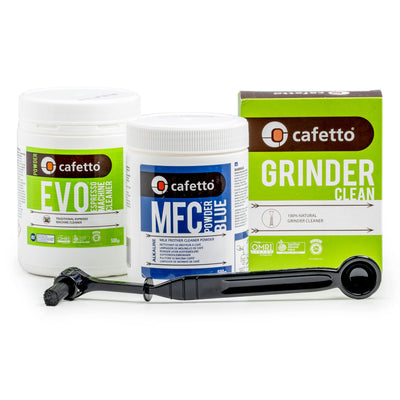
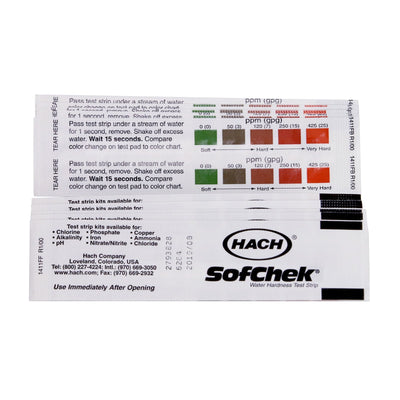
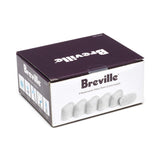
The scale that killed your valve came from somewhere. Before you close the machine: descale properly, start using the tank filters on schedule, and check your tap water with hardness test strips — if you're in a harder-water pocket of the East Bay (El Sobrante, San Pablo, parts of Richmond), this failure will come back on the same schedule unless you treat the water. A periodic backflush with a proper cleaning kit keeps the brew path clear too.
When to bring it in instead
Skip the DIY if the machine is still under warranty (opening it voids coverage), if the gauge problems come with grinding or dosing faults (that's usually more than one issue), or if you open it up and find corrosion or scale crust on multiple components. Our shop is in Berkeley at 2319 Fourth Street — book a Breville repair, drop it off, or ship it to us. We'll diagnose the whole machine, not just the one symptom.
FAQ
How long does the replacement take?
About 45 minutes for a first-timer, 20 for a tech. Cooling time before you start is the longest part.
Can I just clean the old valve instead of replacing it?
Sometimes — if the plunger is merely scale-jammed, an ultrasonic or citric-acid soak can revive it. But if the coil has burned out, cleaning does nothing, and a valve that jammed once tends to jam again. At the part's price most owners just swap it.
Does this same fix apply to other Breville models?
The 3-way solenoid concept is shared across Breville's espresso range, but the exact assembly differs by model. This part is for the BES870XL Barista Express — if you have a different model, send us the model number and we'll match the right part.